


Meticulously prepare car bodywork before applying primer surfacer by removing dirt, grease, and debris using a high-quality car wash solution and microfiber cloths. Ensure the surface is completely dry and free from water spots. Lightly sand if necessary to create a roughened surface for enhanced primer adhesion, resulting in a more durable and professional finish.
“Unleash Your Creative Potential with This Step-by-Step Primer Surfacer Application Guide. Whether you’re an amateur or professional, mastering the art of primer surfacer application is key to achieving superior finish results. From preparing your surface for perfection to choosing the ideal product and perfecting application techniques, this guide covers it all. Learn how to ensure paint adhesion, sealants, or both, while understanding environmental considerations. Dive into our comprehensive steps and revolutionize your projects.”
- Preparing Your Surface
- – Checking the surface for cleanliness and suitability
- – Removing existing finishes, debris, and contaminants
Preparing Your Surface

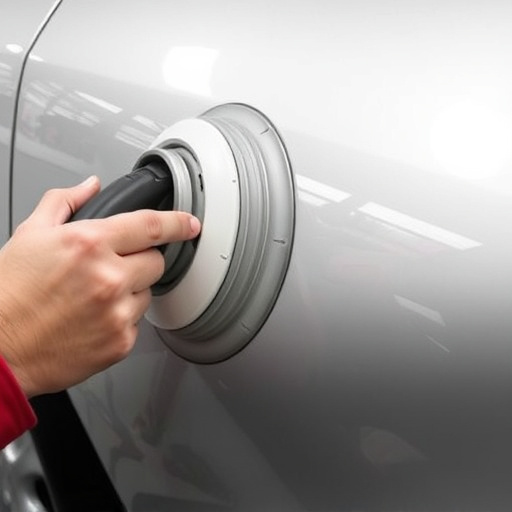
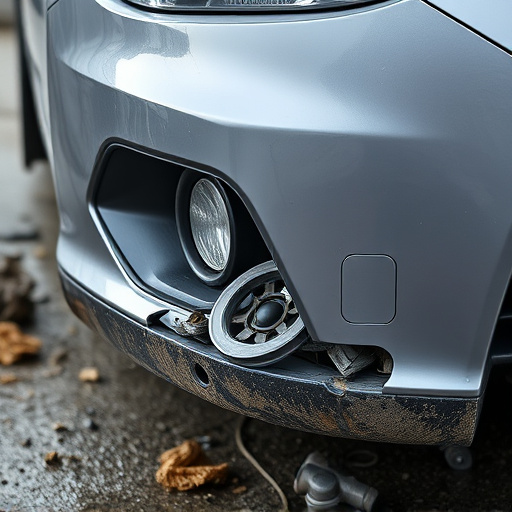
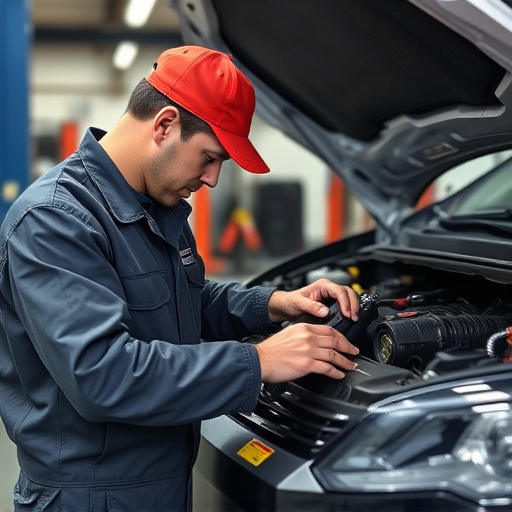
Before beginning the primer surfacer application process, it’s crucial to prepare your surface meticulously. Start by thoroughly cleaning the vehicle’s bodywork or vehicle dent repair area to remove any dirt, grease, or debris. This step is essential as contaminants can hinder adhesion and compromise the final finish. Use a high-quality car wash solution and microfiber cloths for efficient cleaning.
Ensure the surface is dry and free from any water spots. If there are still visible imperfections or old paint remnants, lightly sand the area using appropriate grit sandpaper to create a roughened surface that promotes better primer adhesion. This preparation step, often overlooked, significantly enhances the effectiveness of the primer surfacer application, resulting in a more durable and professional finish at your local car repair shop.
– Checking the surface for cleanliness and suitability
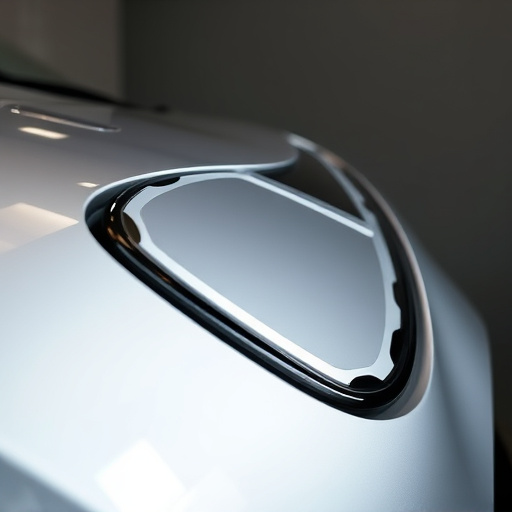
Before starting the primer surfacer application process, it’s crucial to inspect the surface for cleanliness and suitability. The car body shop or vehicle dent repair area should be thoroughly wiped down to remove any dirt, grease, or debris that could interfere with the bonding of the primer surfacer. This step is essential in ensuring a paintless dent repair outcome. Check for any existing damage or imperfections, such as rust or paint chips, and address them before proceeding. By doing so, you lay the groundwork for a smooth, even application later on.
Additionally, ensure that the surface is dry to the touch and free from any moisture. Moisture can negatively impact the primer surfacer’s adhesion, leading to poor results in the car body shop. If necessary, use a suitable drying agent or allow sufficient time for the surface to air dry completely. Proper preparation at this stage makes all the difference in achieving professional-looking repairs during the primer surfacer application process.
– Removing existing finishes, debris, and contaminants
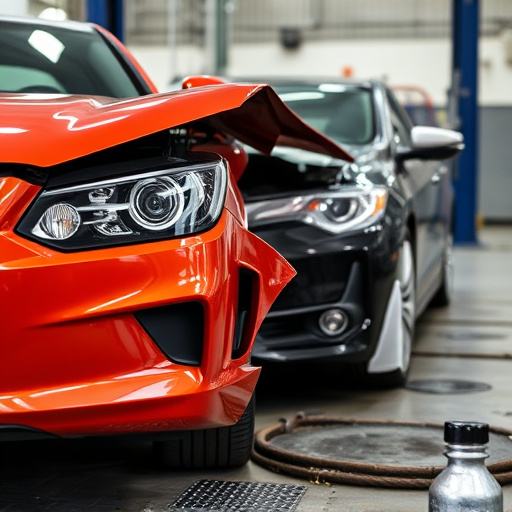
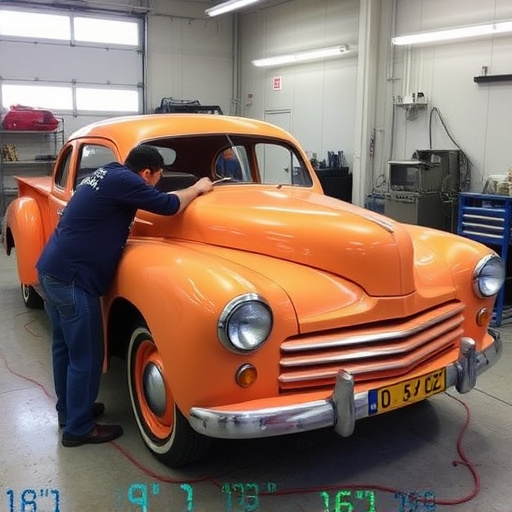
Before starting the primer surfacer application process, it’s crucial to prepare the surface properly. This involves removing any existing finishes, debris, and contaminants that could interfere with the bonding of the primer surfacer. In a classic car restoration, for instance, this might include stripping away old paint or rust. Auto body services professionals use various techniques such as sanding, wire brushing, or using specialized solvents to ensure the surface is clean and free from any residue.
In collision repair shops, this step is often meticulous and thorough, as it lays the foundation for a durable and seamless finish. Removing debris and contaminants not only improves adhesion but also prevents issues like peeling or bubbling in the future. Proper preparation ensures that the primer surfacer can create a smooth, even base, enhancing the overall quality of the auto body services provided.
Applying a primer surfacer correctly is a crucial step in any painting project, ensuring a smooth, durable finish. By carefully preparing your surface, addressing cleanliness and suitability, and diligently removing existing finishes and contaminants, you lay the perfect foundation for your final coat of paint. Following these simple yet effective steps guarantees a successful primer surfacer application, transforming your space into a vibrant, long-lasting masterpiece.