

Choosing the right primer surfacer is crucial for achieving professional vehicle repair results. The type depends on project scope, surface complexity, and climate, with spot primers for small dents, brushing-on for larger areas, and spray primers for extensive work. Select a versatile product from reputable formulators, considering topcoat compatibility and user feedback. Proper primer surfacer application, including surface prep, even coating, drying, and sanding, ensures an ideal base for future topcoats.
Choosing the right primer surfacer is a crucial step in any vehicle painting project. This essential layer acts as a bridge between your car’s surface and the final coat, ensuring optimal adhesion and long-lasting results. In this article, we’ll guide you through understanding primer surfacer types, key factors to consider, and a step-by-step application process. Discover how to select the perfect match for your vehicle, enhancing the overall quality of your paint job and ensuring a smooth, durable finish. Learn about primer surfacer application now.
- Understanding Primer Surfacer Types and Their Functions
- Key Factors to Consider When Choosing a Primer Surfacer
- Step-by-Step Guide to Applying the Right Primer Surfacer for Optimal Results
Understanding Primer Surfacer Types and Their Functions

Choosing the right primer surfacer for your vehicle involves understanding its various types and functions. There are three primary types: spot, brush-on, and spray. Spot primers are ideal for small repairs or touch-ups in auto body restoration, as they fill in minor dents and scratches without over-saturating the surface. Brush-on primers offer a more even application, making them suitable for larger areas of auto bodywork. Spray primers, on the other hand, provide fast coverage and are best used for extensive auto body work that requires rapid drying and high build.
Each primer surfacer serves distinct purposes in the auto body work process. Spot primers dry quickly, enabling immediate painting. Brush-on varieties create a smooth base, enhancing paint adhesion. Spray primers offer superior flow and wetting characteristics, ensuring even coating over complex surfaces. Selecting the appropriate type for your project is key to achieving professional results, whether it’s for minor repairs or extensive auto body restoration.
Key Factors to Consider When Choosing a Primer Surfacer

When choosing a primer surfacer for your vehicle, several key factors come into play to ensure optimal results during and after application. First and foremost, consider the specific needs of your auto bodywork project. Different primer surfacers are formulated for various purposes, from repair and restoration to new paint applications. For instance, in Mercedes-Benz repair or any automotive repair, a versatile product that can handle both small dents and larger repairs might be ideal.
The type of surface you’re preparing is another critical aspect. Primers vary based on whether they are designed for metal, plastic, glass, or other materials. The environmental conditions in your region also matter; some primers offer better performance in humid or cold climates. Additionally, the primer surfacer’s compatibility with your chosen topcoat is essential to guarantee a seamless finish. Always check product specifications and reviews to make an informed decision tailored to your auto bodywork needs.
Step-by-Step Guide to Applying the Right Primer Surfacer for Optimal Results

Applying the right primer surfacer is a crucial step in achieving optimal results for your vehicle’s auto body painting or restoration project. Here’s a step-by-step guide to ensure success:
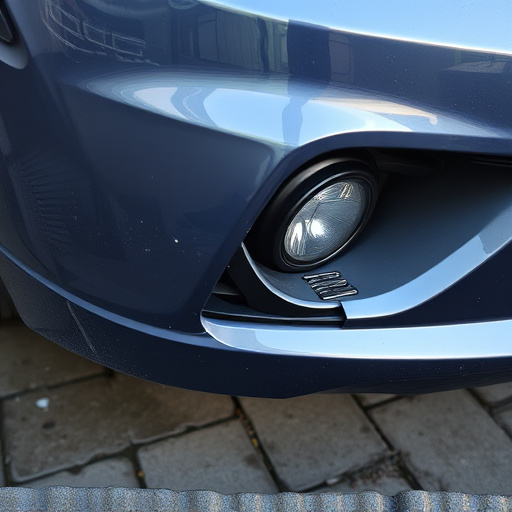
1. Prepare Your Surface: Begin by thoroughly cleaning and degreasing the damaged area. This might involve sanding down any loose paint, removing oil, grease, or dirt with a suitable cleaner. A smooth, clean surface is essential for effective primer surfacer application. In case of major repairs or collision damage, it’s crucial to ensure that all patches are properly fused and sanded to match the surrounding panel contour.
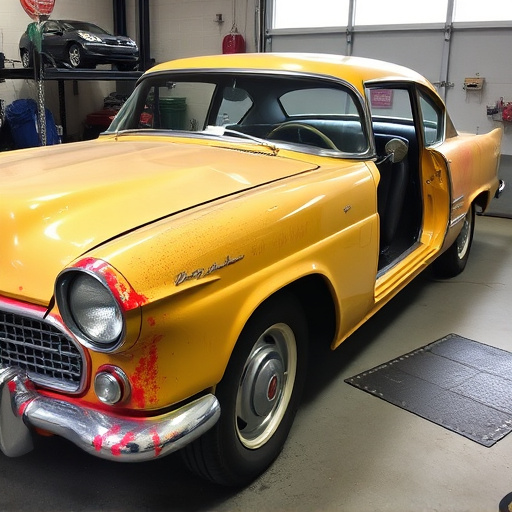
2. Select the Right Primer Surfacer: Choose a product designed specifically for your vehicle’s paint type and the extent of repair required. Collision repair centers often recommend specialized primer surfacers tailored for different materials, such as steel, aluminum, or composite bodies. For a successful vehicle restoration project, select a product that offers excellent adhesion, coverage, and compatibility with future topcoats.
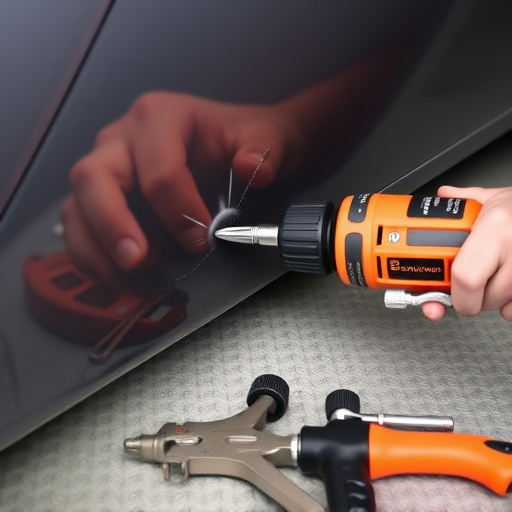
3. Apply the Primer Surfacer: Use a high-quality paint sprayer or brush to evenly apply the primer surfacer. Ensure even coating across all surfaces of the prepared area. Depending on the product, you might need to apply multiple thin layers rather than one thick coat for best results. Allow each layer to dry thoroughly before applying the next.
4. Sand and Inspect: After the final coat is dry, lightly sand the surface to ensure a smooth finish and remove any high spots or imperfections. Inspect the area carefully, ensuring that the primer surfacer has filled all gaps and defects, providing an even base for auto body painting.
Choosing the right primer surfacer is a crucial step in any vehicle restoration or painting project. By understanding the types, functions, and key factors involved, you can make an informed decision that leads to superior results. Following a meticulous application process ensures a smooth, durable finish that enhances your vehicle’s appearance and protects its surface. Mastering the art of primer surfacer application is a game-changer for any automotive enthusiast aiming for a flawless finish.