


Primer surfacer application is vital in car body shop repairs, filling minor imperfections after initial procedures like panel replacement or body filling. It ensures even, durable finishes when applied correctly over prepared surfaces after sanding. This meticulous step, crucial after tire services or hail damage, enhances aesthetics and long-lasting exterior protection for vehicles, improving efficiency and durability of collision repairs. Best practices involve thorough cleaning, precise tools, even distribution, adequate drying time, and adherence to manufacturer curing guidelines.
Discover the power of Primer Surfacer in transforming body filler repairs. This innovative material acts as a crucial bridge between your repair work and final finish, ensuring longevity and aesthetic appeal. In this guide, we’ll explore how Primer Surfacer application works its magic. From understanding its unique properties to following a step-by-step process, you’ll learn the secrets to successful implementation. Uncover the benefits and best practices for achieving flawless body filler repairs with Primer Surfacer application as your game-changer.
- Understanding Primer Surfacer: A Key Component
- Application Process: Step-by-Step Guide
- Benefits and Best Practices for Body Filler Repairs
Understanding Primer Surfacer: A Key Component

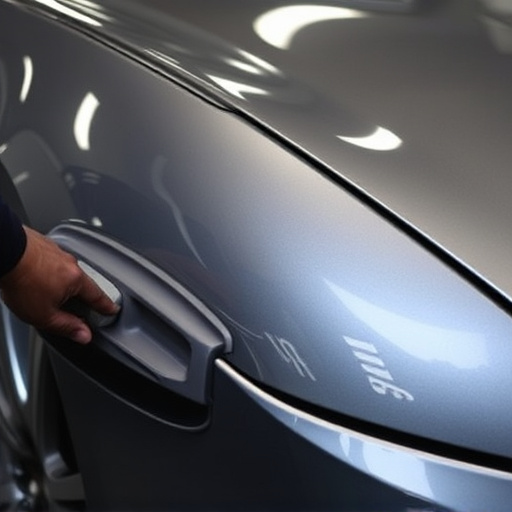
Primer surfacer is a crucial component in the process of car body shop repairs and restorations. It serves as a bridge between the damaged or repaired area of a car’s bodywork and the final coat of paint, ensuring an even and durable finish. This essential material is designed to fill minor imperfections, such as scratches, dents, or gaps, left after initial car damage repair procedures like panel replacement or body filling.
Understanding how primer surfacer application works is vital for achieving professional results in car bodywork services. The process involves carefully applying a thin layer of the compound over the prepared surface, usually after sandbling to ensure smoothness. This primer acts as a key to binding subsequent coats, enhancing adhesion and creating a seamless finish once cured. By correctly preparing the area and applying the right amount of primer surfacer, car body shops can guarantee not only aesthetic appeal but also long-lasting protection for the vehicle’s exterior.
Application Process: Step-by-Step Guide
The primer surfacer application is a meticulous process that plays a crucial role in achieving seamless auto body repair, especially after tire services or hail damage repairs. Here’s a step-by-step guide to understanding this essential procedure:
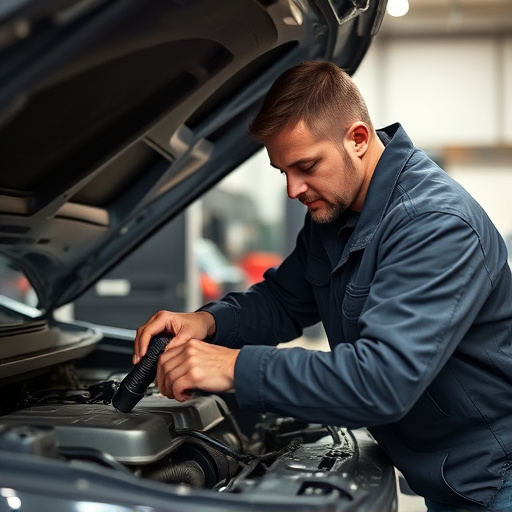
1. Prepare the Surface: Begin by thoroughly cleaning and preparing the damaged area. This includes removing any debris, dust, or remaining fragments from the impact site. Sanding the surface slightly can create a rough texture, allowing for better adhesion of the primer surfacer. Ensure the area is free from grease, oil, or any other contaminants that might hinder bonding.
2. Fill and Sand: Apply the body filler to the prepared area, filling in any imperfections or depressions caused by damage like hail or collisions. Use a putty knife to smooth the surface of the filler, ensuring it matches the surrounding panel height. Allow the filler to cure according to the manufacturer’s instructions. Once set, lightly sand the repaired area using progressively finer grits until a smooth finish is achieved.
3. Clean Again: After sanding, give the surface another thorough cleaning to remove any dust or debris created during the sanding process. This step ensures a clean environment for the primer surfacer to adhere optimally.
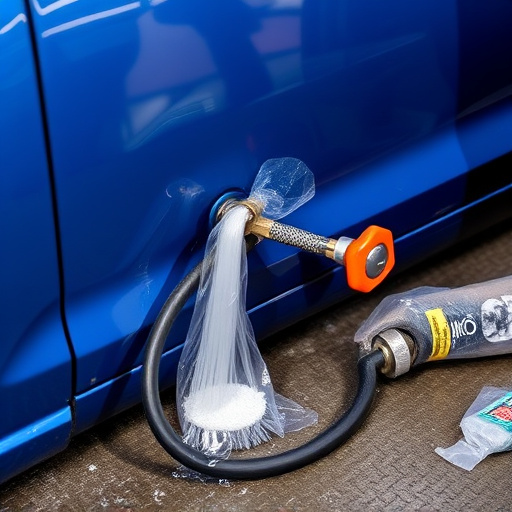
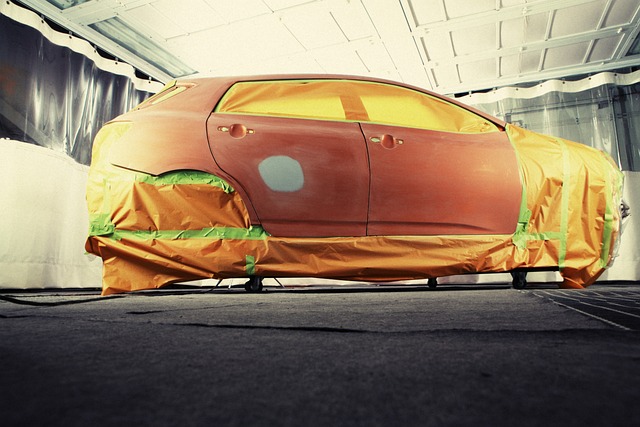
4. Apply Primer Surfacer: Now, it’s time to apply the primer surfacer. Using a suitable tool like a spray gun or a brush, evenly coat the repaired area. Ensure complete coverage without overspray on adjacent surfaces. Allow the primer surfacer to dry according to the product specifications. This step prepares the surface for painting and creates a durable bond between the repair and the final finish.
Benefits and Best Practices for Body Filler Repairs

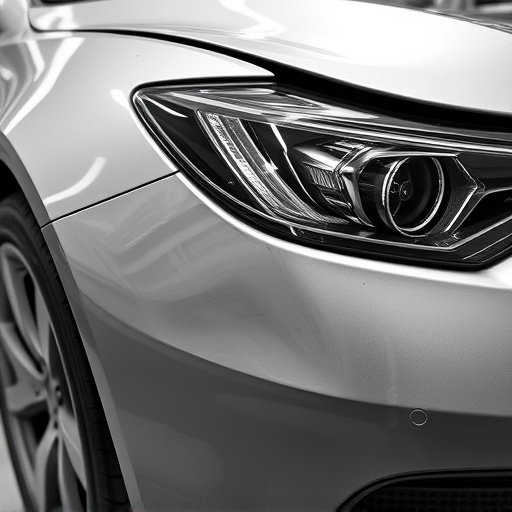
The benefits of using a primer surfacer application in auto body services are numerous. It serves as a crucial step in collision repair shop processes, ensuring that repairs are not only efficient but also long-lasting. By preparing the surface accurately, this technique creates a smooth base for subsequent coatings, enhancing the overall quality of the final finish. A well-applied primer surfacer also improves adhesion, preventing issues like bubbles or cracks in the future.
When performing body filler repairs, best practices dictate careful preparation and attention to detail. This includes thoroughly cleaning and degreasing the affected area to eliminate any contaminants that could hinder the bonding process. Using the right tools and techniques for application is essential, ensuring even distribution of the primer surfacer. Additionally, allowing sufficient drying time between coats and following manufacturer guidelines for curing conditions are vital for achieving optimal results in vehicle repair services.
Primer surfacer application is a game-changer in body filler repairs, offering enhanced adhesion and a smooth finish. By understanding its key role and following a meticulous application process, professionals can achieve superior results. This versatile material not only fills minor imperfections but also prepares the surface for topcoat application, ensuring long-lasting durability. Adhering to best practices, such as using the right tools and maintaining a clean workspace, will further optimize the benefits of primer surfacer, making it an indispensable tool in any automotive repair kit.